Learn Frontend by doing
Requirements -
VS code must be installed on your pc
Then add live server extension in vs code
This blog is for everyone and also for the person who doesn't even know about programming or from non-tech can learn through this
Prerequisites - Nothing you can learn on the go
We will start learning frontend dev by doing small projects and then in the final, we will make a big project.
In the starting, we will make 👇️
- A simple nav bar
- Next, make it responsive
-Then add some animation
- Create a hamburger icon
-Animate hamburger icon
After installation of vs code
- Open vs code and make a file name xyz.html
<!DOCTYPE html>
<html lang="en">
<head>
    <meta charset="UTF-8">
    <meta http-equiv="X-UA-Compatible" content="IE=edge">
    <meta name="viewport" content="width=device-width, initial-scale=1.0">
    <title>Document</title>
    <link rel="stylesheet" href="style.css">
</head>
<body>
    <nav>
        <div class="logo">logo</div>
        <ul class="navlinks">

            <li>home</li>
            <li>about</li>
            <li>contact</li>
     </nav>

</body>
</html>
Right-click on the vs code after writing this code in the xyz.html file there will be an option name open on the live server click on it and it will open the google tab
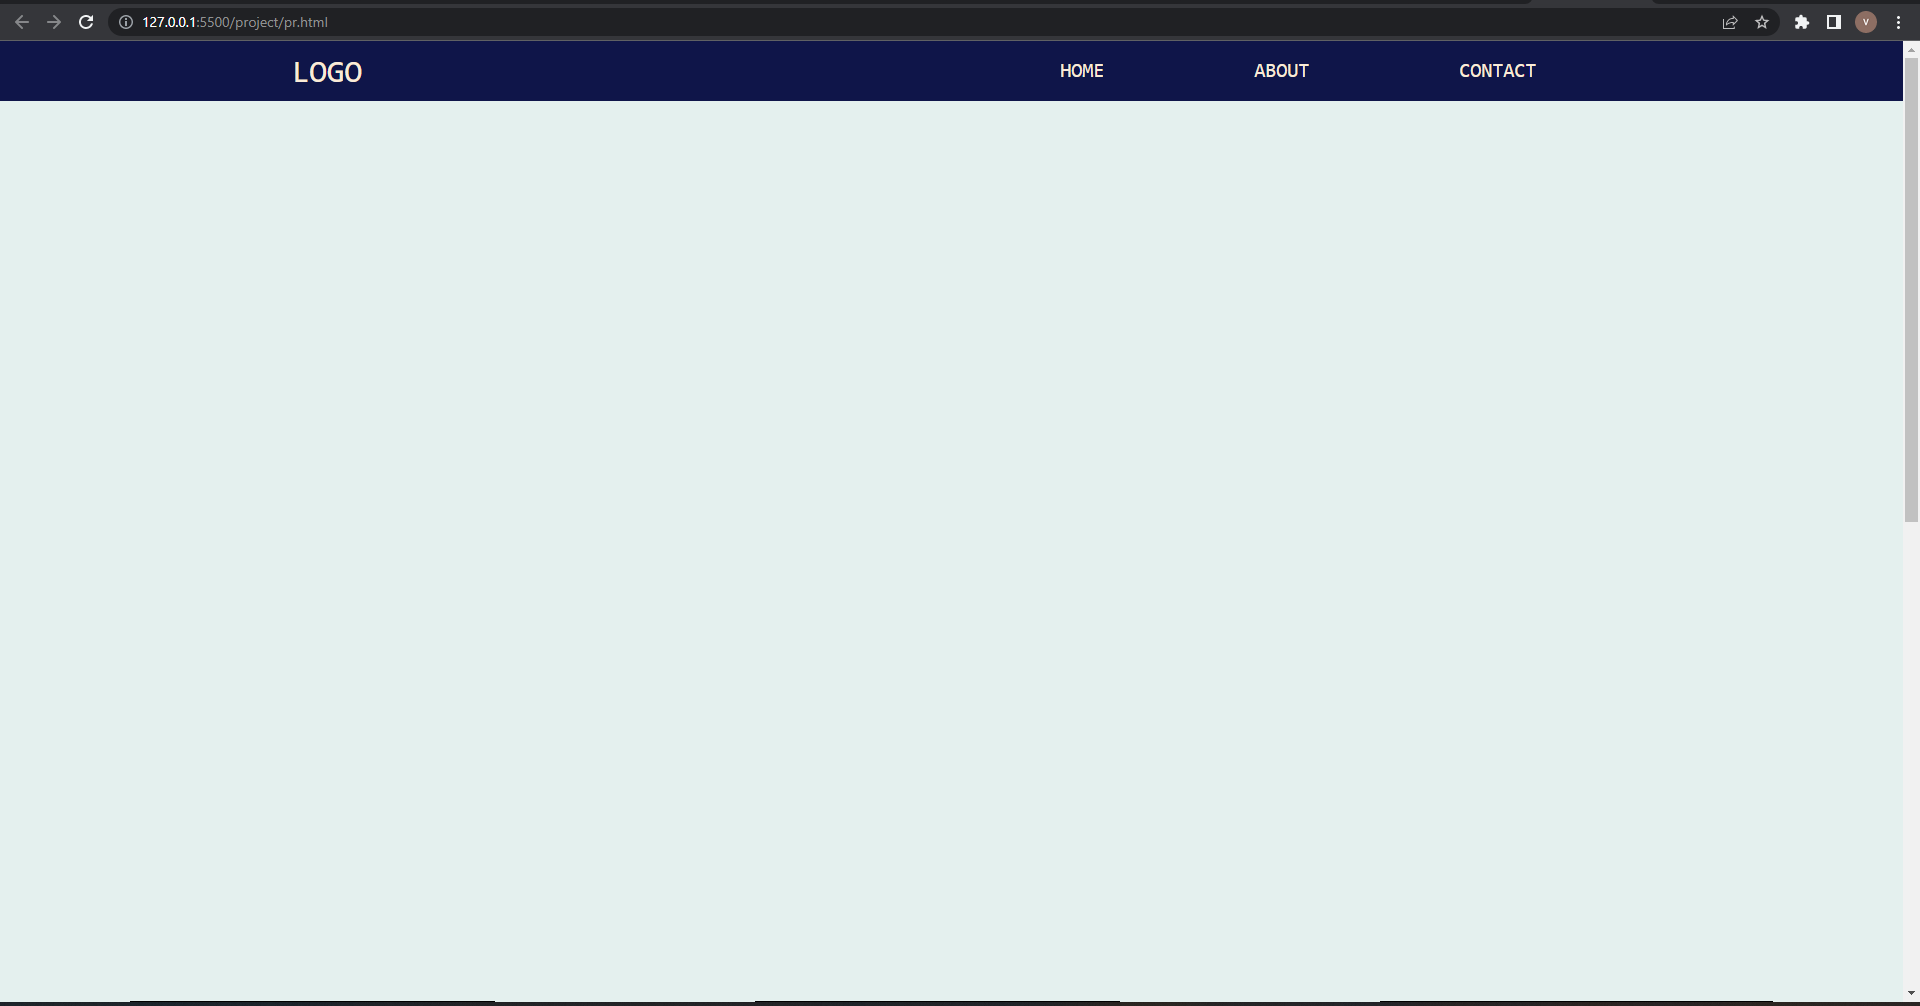
The open tab will contain logo, home, about and contact
this will be very simple beacause we haven't added css to it, so what is CSS?
CSS is cascading style sheet it is used for designing and adding color to it in simple words HTML is a house and CSS is coloring the house adding furniture and put lighting and all that decoration to it
In the starting, you will be confused about what is this language <> but if believe me it is interesting and you will surely gain interest in this
For linking this HTML file to CSS we use
<link rel="stylesheet" href="style.css">
this will link our HTML file to CSS
For making your nav bar as you have seen in the cover image we will add CSS to it
*{
    margin: 0;
    border: 0;
    box-sizing: border-box;
}
body{
    min-height: 200vh;
    overflow-x: hidden;
    font-family: monospace;
    text-transform: uppercase;
    background-color: rgba(201, 225, 222, 0.486);
}


nav{
    display: flex;
    background-color: rgb(15, 21, 73);
    justify-content: space-around;
    width: 100%;
    align-items: center;
}
.logo{
    font-size: 32px;
    color: antiquewhite;

}
ul{
    float:inline-end;
    display: flex;
   justify-content: space-around;
   font-size: 20px;
   width: 35%;
   line-height: 30px;


}
li{
    list-style: none;
    float: right;
    margin: 15px auto;
    color: antiquewhite;

}
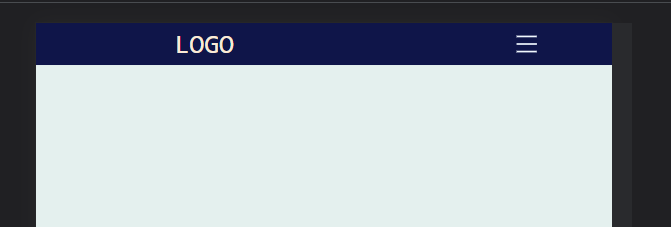
This is for the nav bar only in the next blog we will add a hamburger icon like this 👇
And you can learn more from freecodecamp course


